How to Store Cleaning Tools in a Small Apartment
We’ve all been there. You open the cabinet under the sink, and an avalanche of half-empty spray bottles, tangled cords, and mismatched sponges comes crashing down. In a small apartment, cleaning tools tend to create the very clutter they’re meant to eliminate.
The broom leans precariously in the corner, the mop hides behind the door, and the vacuum cleaner never quite finds a permanent home.
The fix isn’t buying a bigger apartment or installing custom cabinetry. It’s about creating a simple, intentional system based on zones, vertical storage, and a “grab-and-go” kit.
Here is your practical, no-stress guide to taming your cleaning supplies in a small space.
Phase 1: The Great Cleaning Edit (Before You Buy Bins)
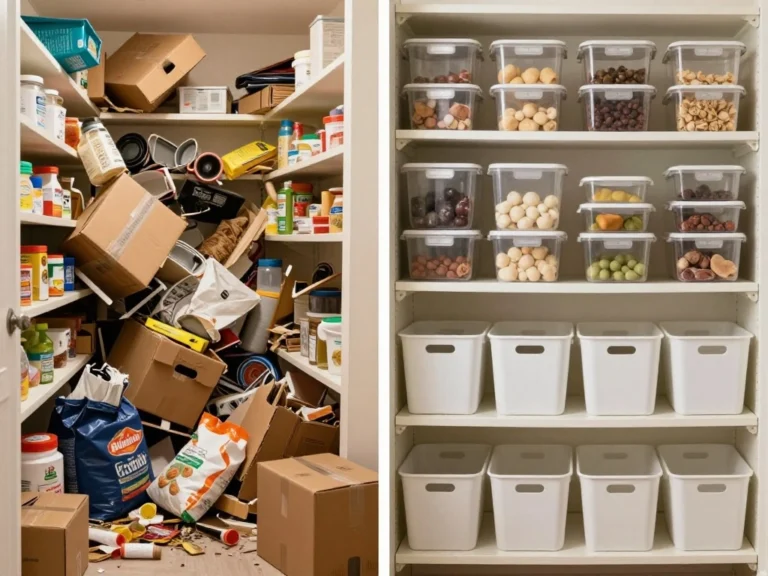
You cannot organize your way out of having too many cleaning products. Before you spend a dime on storage bins, you need to edit your collection. Most apartments don’t need ten different cleaners; they just need the basics.
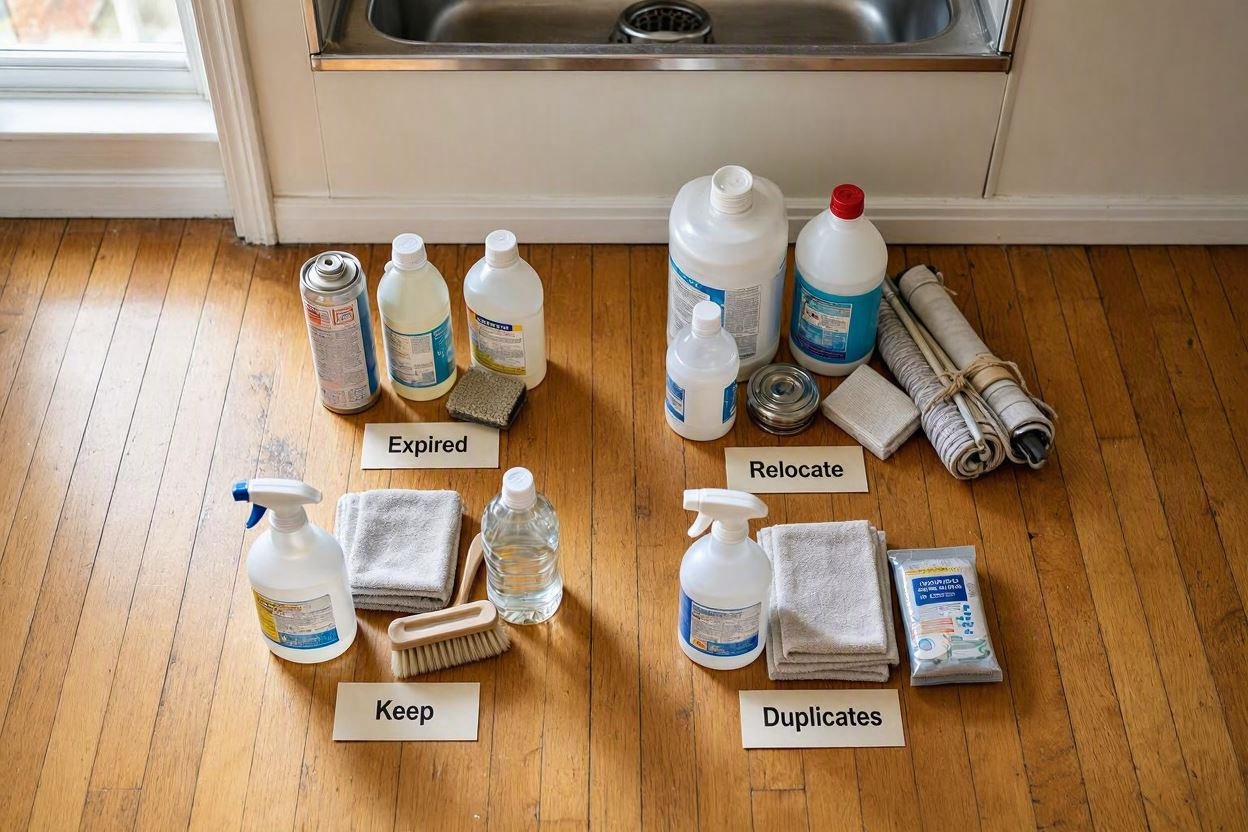
Take everything out from under your sinks and closets and sort them into these categories:
- The Core Kit: The essentials you actually use (all-purpose cleaner, bathroom cleaner, dish soap, microfiber cloths, sponge, scrub brush, toilet brush, broom/dustpan, and a mop).
- The Duplicates: That third bottle of glass cleaner or the fifth sponge. Keep only one backup.
- The “Maybe Someday” Pile: Specialty cleaners for stains you haven’t had in three years. If you don’t use it monthly, it doesn’t belong in your prime real estate.
- The Expired/Empty: Check dates. Toss anything that has separated, lost its scent, or is empty.
The “One-Month” Rule: In a small apartment, you should store for the month, not for the year. If you have bulk paper towels or massive refill jugs, move them to a car trunk, a storage locker, or the very top shelf of a closet. Keep only what fits comfortably in your active cleaning zone.
Phase 2: The Master Storage Guide (Choose Your Weapon)
Once you’ve edited your collection, match the storage method to your specific space. Cleaning supplies can be heavy, awkward, and potentially hazardous, so your storage needs to be both functional and safe.
| Storage Method | Best For | The Vibe / Advantage | Watch Out For | Real-World Examples |
|---|---|---|---|---|
| Under-Sink Pull-Out Bins | Daily sprays, sponges, gloves | Makes deep cabinets accessible; prevents “black hole” syndrome. | Measure plumbing clearance first. | Simple Human, IKEA VARIERA |
| Wall-Mounted Tool Holders | Brooms, mops, dusters | Frees up floor space; keeps tools upright and dry. | Ensure weight rating matches your vacuum/mop. | Rubbermaid, OXO Good Grips |
| Over-the-Door Racks | Lightweight tools, sprays | Uses vertical door space without drilling. | Can be noisy; check door clearance. | Simple Houseware, mDesign |
| Portable Cleaning Caddy | Quick cleanups, shared apartments | Carry everything with you; no running back and forth. | Can get heavy if overfilled. | OXO, Unger |
| Lazy Susan (Turntable) | Corner cabinets, deep shelves | Easy access to bottles in the back; no digging. | Can be wobbly if not weighted down. | YouCopia, IKEA 365+ |
| Tension Rods | Hanging spray bottles | Cheap, renter-friendly, uses vertical closet space. | Only for lightweight items; secure triggers. | Any standard tension rod |
Phase 3: Establish Your “Cleaning Command Center”
Instead of scattering tools everywhere (broom in the kitchen, sprays in the bathroom, vacuum in the bedroom), pick one main storage zone. In a small apartment, a single home base prevents duplicates and stops tools from drifting into corners.
Best Locations for Your Command Center:
- The Entry/Linen Closet: The holy grail. It can house the vacuum, broom, mop, and a shelf for your caddy.
- The Kitchen Sink Cabinet: Best for daily sprays, dish tools, and trash bags. Warning: Keep chemicals away from food prep areas if possible.
- The Bathroom Vanity: Good for bathroom-specific items, but often too small for a full kit.
The Zoning Rule:
Inside your command center, create three distinct zones:
- Tools Zone: Broom, mop, vacuum, duster (stored vertically).
- Chemicals Zone: Sprays and liquids (stored in a lidded bin or on a turntable).
- Consumables Zone: Cloths, sponges, gloves, trash bags (stored in a drawer or small bin).
Phase 4: Go Vertical (Or Get Out of the Way)
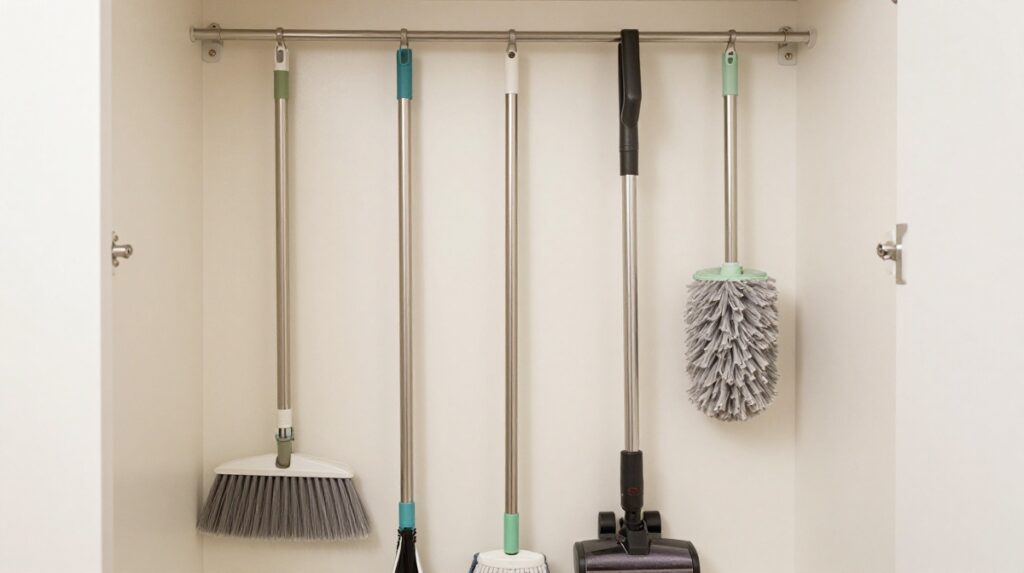
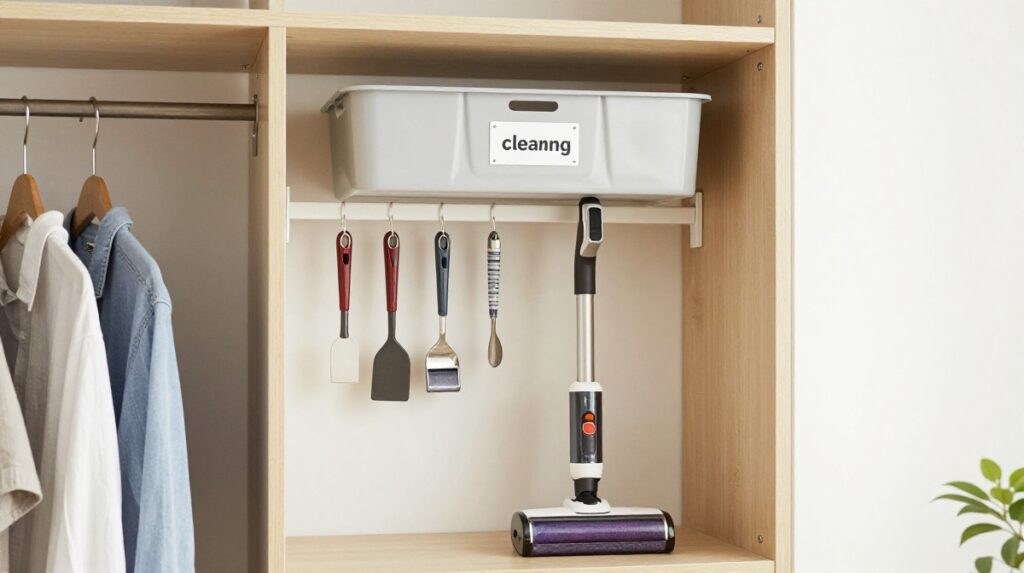
Brooms, mops, and vacuums feel bulky because they are tall and awkward. The solution is simple: get them off the floor.
Wall-Mounted Holders:
Install a wall-mounted tool holder (like the Rubbermaid FastTrack or OXO Good Grips clips) inside a closet or utility nook. This keeps brooms and mops upright, prevents them from falling over every time you open the door, and allows wet mop heads to dry properly without touching the floor.
Over-the-Door Storage:
If you can’t drill holes, an over-the-door organizer with wide pockets is a lifesaver. It’s perfect for lightweight dusters, spray bottles, and cleaning wipes. Pro tip: Make sure the pockets are reinforced so heavy bottles don’t tear through the fabric.
Tension Rods:
Install a tension rod vertically inside a tall, narrow closet. You can hang spray bottles by their triggers (make sure they are locked!) or use S-hooks to hang microfiber cloths and scrub brushes. It’s a cheap, renter-friendly hack that uses “dead” air space.
Phase 5: Tame the Under-Sink Chaos
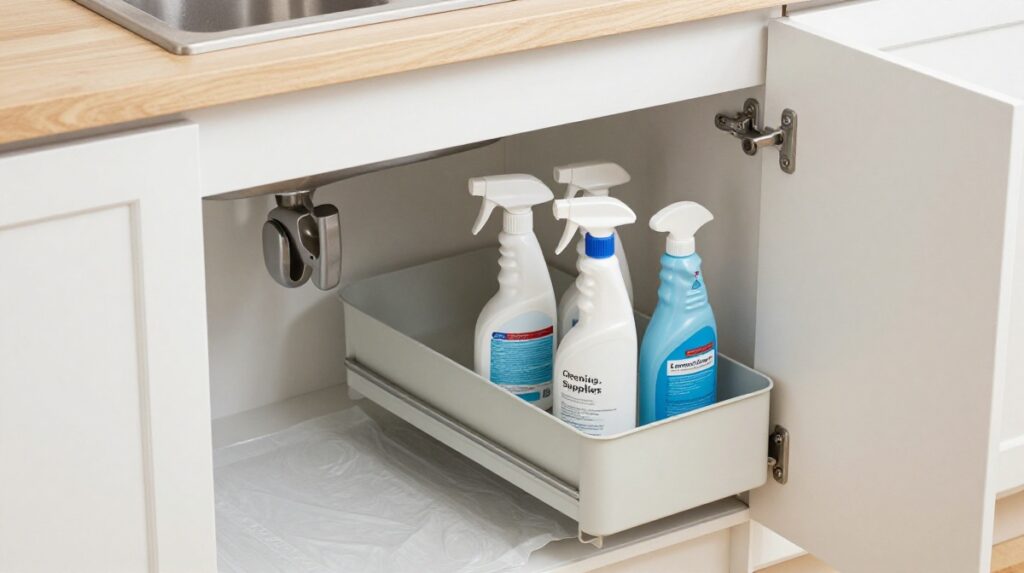
The space under the sink is usually the default for cleaning supplies until it becomes a tangled, leaky mess. The key is to contain everything.
Use Pull-Out Bins or Drawers:
Deep under-sink cabinets are “black holes” where items go to die. Use a pull-out bin (like the Simple Human Pull-Out Cabinet Organizer) or a sliding drawer unit. This allows you to access the items in the back without having to crawl on the floor.
The Lazy Susan Trick:
For corner cabinets or deep shelves, a Lazy Susan (turntable) is essential. It allows you to spin your bottles around to find what you need instantly. Safety Note: Never mix chemicals. Keep bleach and ammonia-based products far apart, and always ensure lids are tight to prevent leaks.
Protect the Base:
Place a waterproof liner or a drip tray at the bottom of the cabinet. This catches any accidental leaks or spills, protecting your cabinet floor from water damage and mold.
Phase 6: The Portable Cleaning Caddy (The Game Changer)
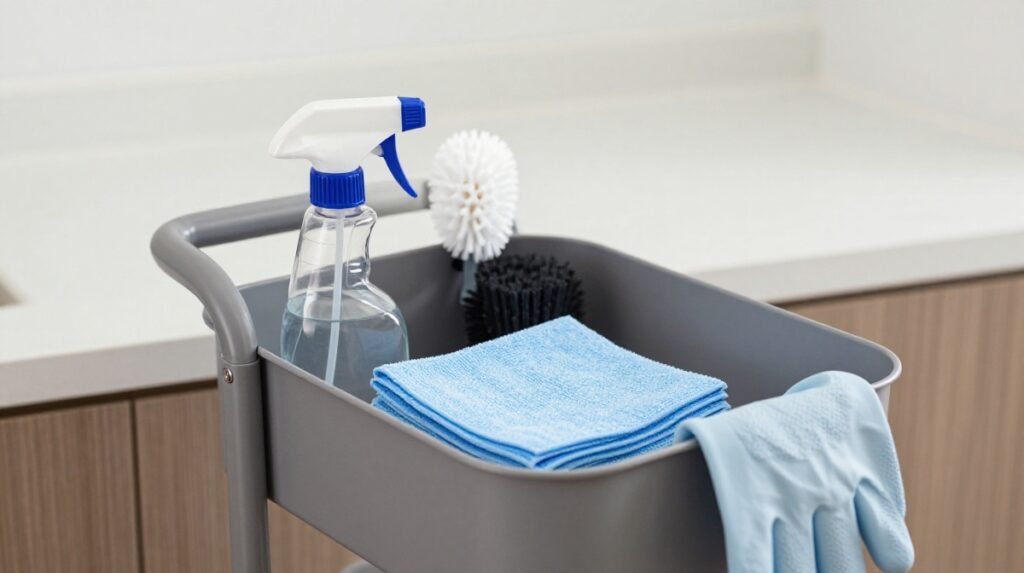
Small apartments reward speed. When supplies are scattered, cleaning feels like a project. A portable caddy turns it into a quick routine.
What to Put in Your Caddy:
- All-purpose cleaner (or a diluted concentrate)
- Microfiber cloths (2-3)
- Small scrub brush
- Disinfecting wipes (optional)
- Gloves (optional)
- A small roll of trash bags
Keep your large tools (vacuum, mop, broom) in your “Command Center” but use the caddy to handle 90% of your day-to-day messes. You can carry it from the kitchen to the bathroom to the living room without running back and forth to the closet.
The “Reset” Habit:
Once a week, take 2 minutes to “reset” the caddy. Refill the spray bottle, toss dirty cloths in the wash, and wipe down the outside of the caddy. If you share the apartment, label the caddy and make the “home base” obvious so tools don’t migrate.
The Final Checklist
You don’t need a massive utility room to keep your cleaning supplies organized. By editing your collection, establishing a single “Command Center” and using vertical space wisely, you can keep your small apartment clean and clutter-free.
Before you finish, run through this quick checklist:
- Have you tossed expired cleaners and duplicate bottles?
- Is your “Core Kit” limited to the essentials you actually use?
- Are your brooms and mops stored vertically (off the floor)?
- Do you have a portable caddy for quick daily cleanups?
- Are chemicals stored safely away from food and incompatible mixtures?
Your home should be a sanctuary, not a storage unit for half-empty bottles. Implement these simple steps, and you’ll find that cleaning your small apartment is actually… enjoyable.