How to Store Children’s Toys in a Small Home
Let’s be honest : living in a small space with kids feels like a constant battle against plastic clutter. One day you’ve just tidied up, and by evening, toys have multiplied like rabbits across every available surface. But here’s the good news a small home can absolutely work for family life. The secret isn’t having more space, it’s having a smarter system.
The goal isn’t to hide every toy or create a showroom-perfect home. It’s to store toys so your child can actually use them and you can reset the space without spending hours cleaning. After years of helping families organize small spaces, I’ve learned that the most successful toy storage setups follow three non-negotiable principles:
- Fewer toys out at once (rotation beats overflow every time)
- Simple containers (easy for small hands to carry and put away)
- Clear “homes” for categories (so toys don’t migrate to every corner)
Here’s how to make it happen in your space.
Step 1: Edit Before You Organize (This Is Non-Negotiable)
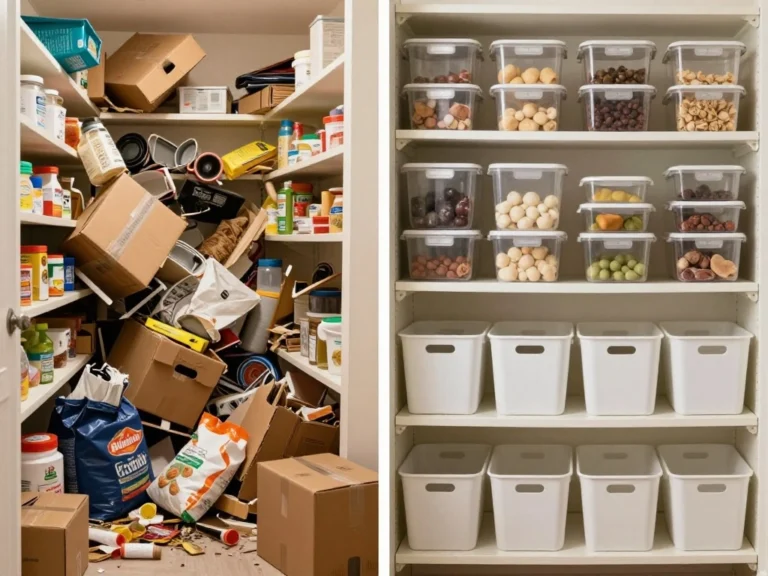
Before you buy a single bin or shelf, you need to face the hard truth: in small homes, “too many toys” is usually the real problem not “not enough storage” I’ve watched families try to organize overflowing toy collections with elaborate systems, only to watch those systems collapse within weeks.
Start with a sorting session that actually works. Grab four boxes or bags and label them:
- Keep: Toys your child plays with weekly
- Rotate: Toys played with monthly or seasonally
- Donate: Age-appropriate toys no longer used
- Trash/Recycle: Broken items or puzzles missing critical pieces
Here’s a reality check : if a bin won’t close or the shelf looks stuffed, you have too many items in that category. Be ruthless with tiny-piece toys like LEGO or doll accessories these absolutely need lidded containers, or they will spread like wildfire throughout your home.
Pro tip: Keep one small “incoming” box near your entry. When gifts arrive (and they will), you’ll know immediately what needs to leave to maintain balance. This isn’t about being mean it’s about protecting your sanity and your space.
Step 2: Create Zones, Not a Playroom
In a small home, toys will live in shared spaces the living room, dining area, even bedrooms. The key is creating clear zones so toys don’t create an “everywhere at once” effect.
Think about how your child actually plays:
- Active play zone: Blocks, cars, and pretend-play items belong near open floor space where kids can spread out
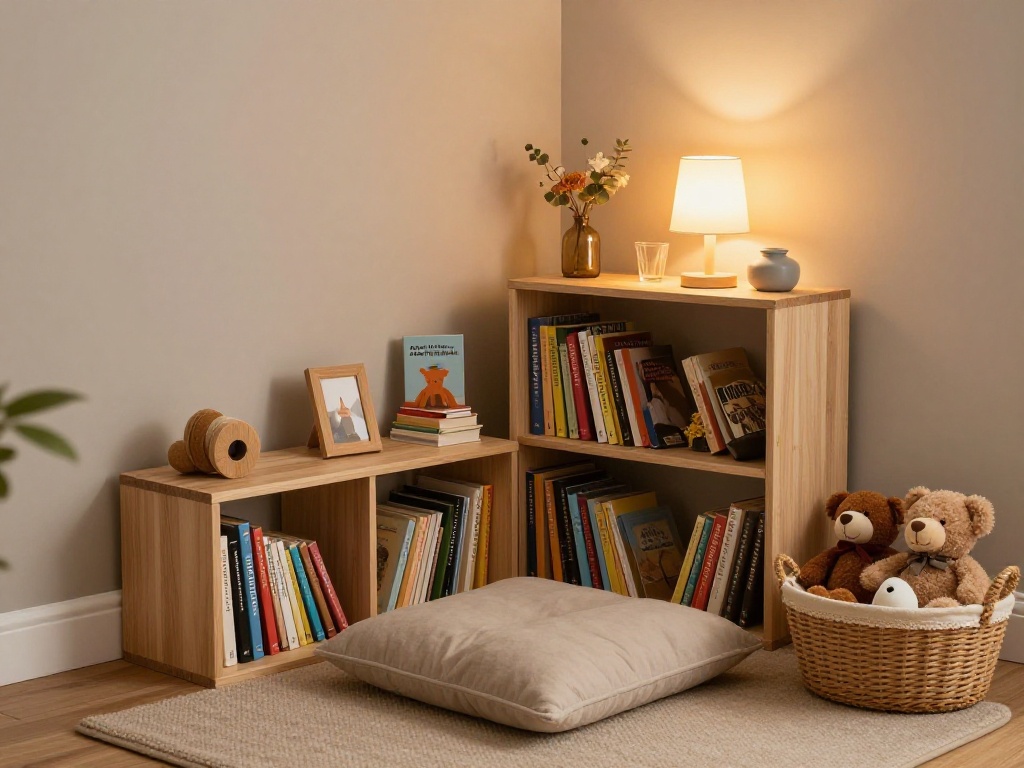
- Quiet zone: Books, puzzles, and sensory bins work best near a cozy corner, chair, or rug
- Creative zone: Art supplies and coloring materials need a table or wipeable surface nearby
- Quick-cleanup zone: One basket or bin for fast tidying when guests arrive unexpectedly
These zones don’t need to be large or elaborate. In fact, smaller, more obvious zones work better because kids learn where things go faster than you’d think. If you’re really short on space, make zones “time-based” instead of space-based: one basket comes out at a time, then goes back before the next activity starts.
Step 3: Choose Containment Over Perfection
Here’s what I’ve learned from working with hundreds of families: overly detailed toy organization systems collapse within a week. Those tiny dividers and color-coded bins look amazing on Instagram, but they’re unsustainable when you’re managing real life with real kids.
What actually works:
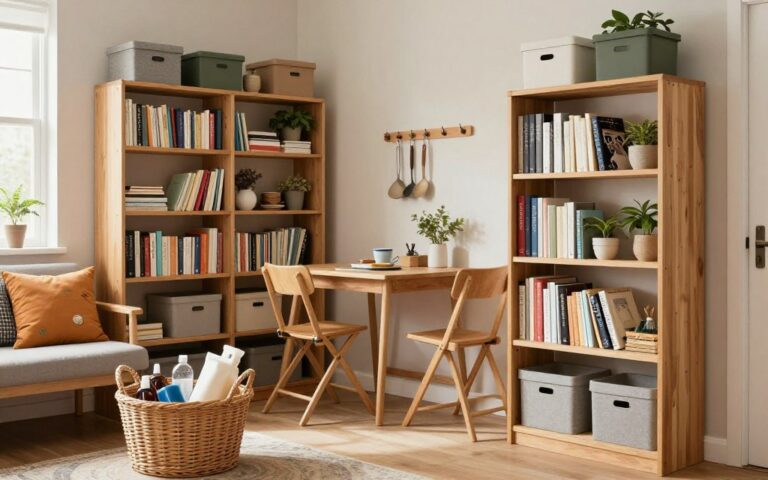
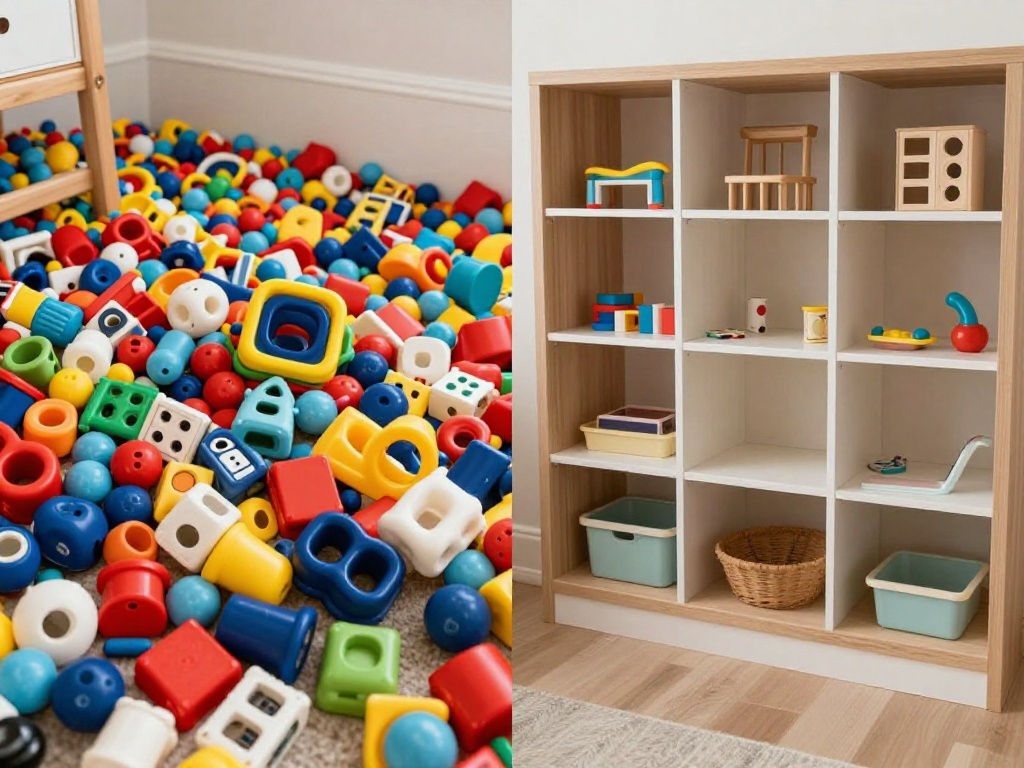
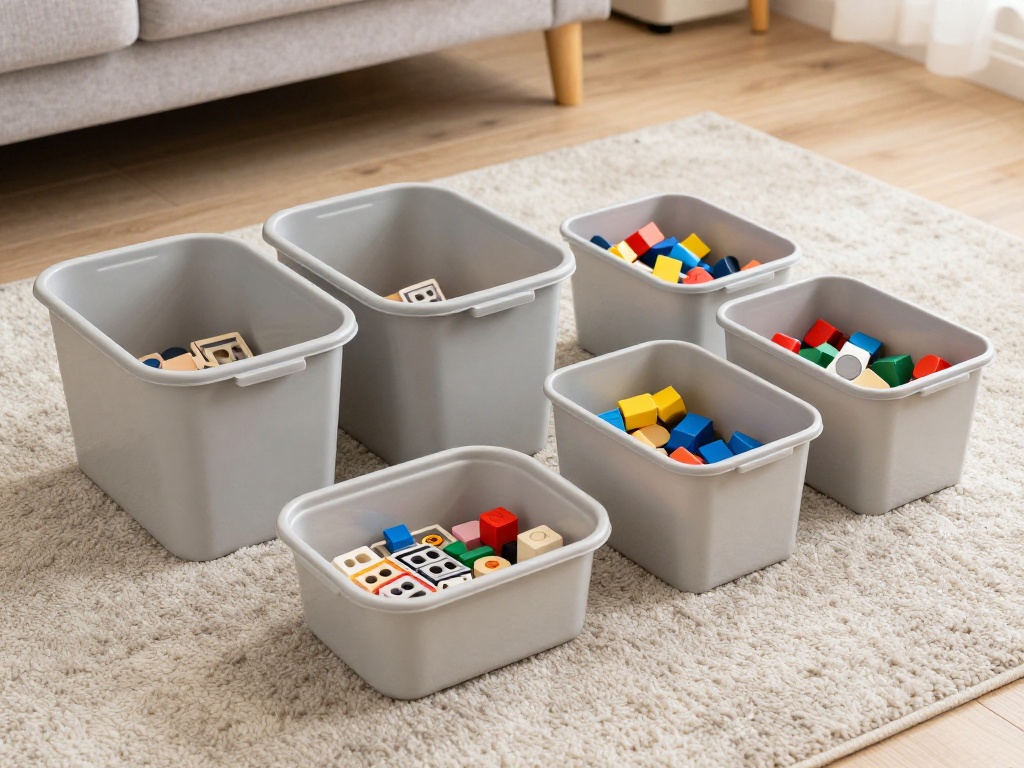
- Open bins for big categories like blocks, dolls, and vehicles
- Lidded boxes for small pieces that tend to disappear (LEGO, doll accessories, game parts)
- One display shelf for a few special items everything else gets contained
- Picture labels for toddlers and pre-readers
Follow the “one-bin-per-category” rule. Instead of ten tiny containers, give each major category one container sized to your actual space limit. When it’s full, something must rotate out. This creates a natural boundary that prevents accumulation.
Most importantly: choose bins your child can actually carry. If the container is too heavy or awkward, toys won’t be put away independently, and you’ll end up doing all the cleanup yourself.
Step 4: Maximize Vertical and Hidden Storage
When square footage is limited, saving floor space matters more than adding furniture. Your walls, the backs of doors, and under-furniture spaces are goldmines for toy storage.
Vertical storage that works:
- Wall-mounted book ledges (face-out display makes it easy for little hands to choose)
- Over-the-door organizers for small toys, craft supplies, and accessories
- Hooks for dress-up items, bags, and headphones
Hidden storage solutions:
- Under-bed bins for rotation toys or bulky sets
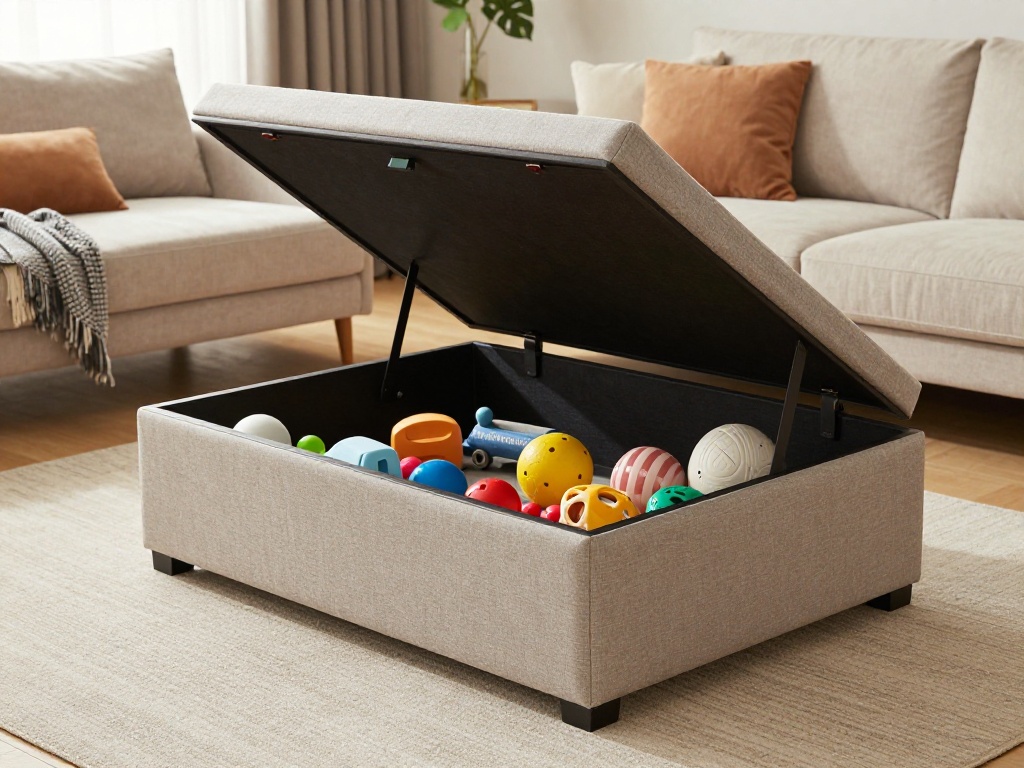
- Storage ottomans for soft toys or quick cleanup
- Benches with baskets for living rooms that need to look “adult” quickly
Safety reminder: Always anchor tall furniture to the wall and avoid storing heavy items high up where they could fall.
Step 5: Master Toy Rotation (Your Small-Home Superpower)
Toy rotation is the single best hack for small homes because it cuts visual clutter while keeping play interesting. Kids don’t need access to everything at once in fact, having fewer choices often leads to deeper, more creative play.
Here’s a simple rotation system:
- Keep 6–12 toys or activities out (depending on your child’s age and your space)
- Store the rest in two or three lidded bins clearly labeled
- Rotate every 2–4 weeks or whenever interest drops
Rotation works especially well for puzzles, board games, building sets, sensory bins, and character toys with lots of pieces. Rotate by type, not by individual item. For example, swap the entire “train set” category out and bring “magnetic tiles” in.
Step 6: Build a Sustainable Daily Reset Routine
Even the best storage system fails without simple maintenance habits. The trick is designing cleanup so it takes 5–10 minutes, not an hour.
A routine that works for most families:
- Midday sweep (optional): One bin cleanup before nap or quiet time
- Evening reset (daily): Toys back in bins, floor clear, drop-zone basket emptied
- Weekly quick sort: Return items to correct bins, remove trash, check for missing pieces
Teach cleanup with “close enough” rules. Perfection isn’t the goal consistency is. Cars go in the car bin, not individually lined up. Blocks go in the block bin, not sorted by color. Keep one “mixed” bin only if absolutely necessary, and empty it weekly.
Quick Reference: Small-Home Toy Storage Essentials
| Storage Solution | Best For | Space Required | Kid-Friendly? |
|---|---|---|---|
| Open bins on low shelf | Daily toys, blocks, cars | Floor or shelf space | Yes—easy access |
| Lidded containers | Small pieces, LEGO, accessories | Shelf or closet | Yes—if lightweight |
| Under-bed bins | Rotation toys, seasonal items | Under bed only | No—adult managed |
| Wall book ledges | Books, small displays | Wall space only | Yes—visual access |
| Storage ottoman | Soft toys, quick cleanup | Floor space | Yes—dual purpose |
| Over-door organizer | Craft supplies, small toys | Door space only | Maybe—depends on height |
| Drop-zone basket | Fast cleanup, overflow | Any corner | Yes—simple system |
Your Action Plan
Start with this simple setup:
- One shelf unit + 4–6 bins for daily toys
- One drop-zone basket for fast cleanup
- 2–3 lidded rotation bins stored under the bed or in a closet
- Wall book ledges for books (keeps surfaces clear)
- Nightly 7-minute reset to prevent buildup