How to Hide Cables in a Rental Apartment Without Damaging the Walls
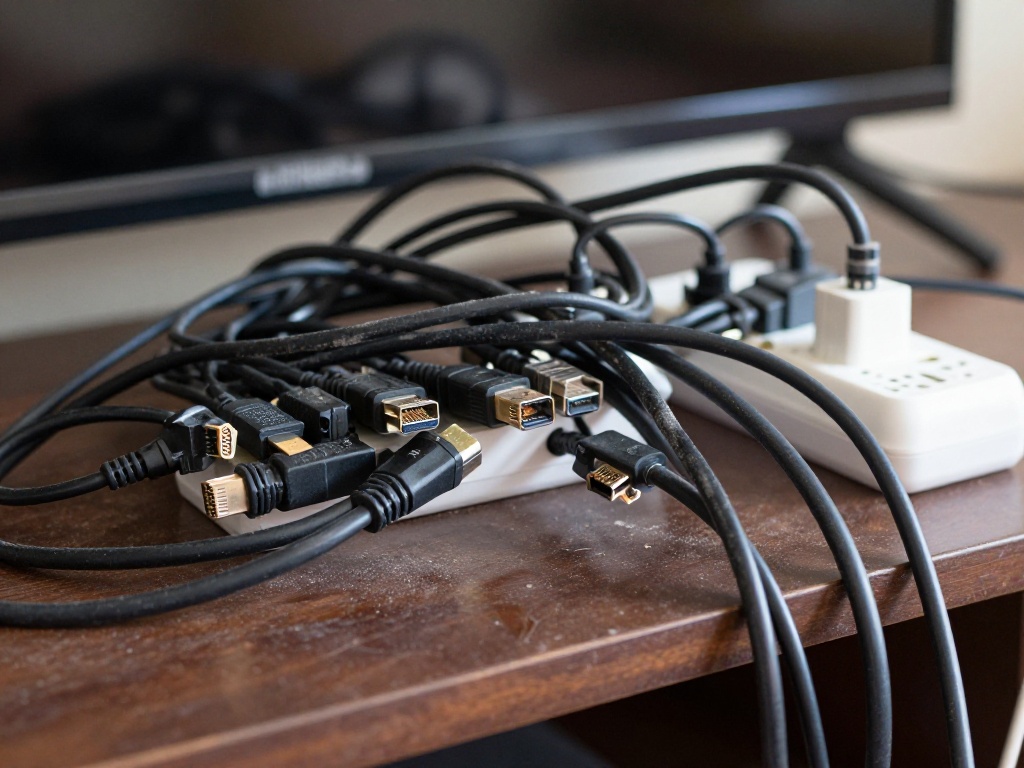
I was sitting on my couch, trying to enjoy a movie, when my eyes kept drifting to the same spot: the ugly spiderweb of black cables snaking down from my TV, across my baseboard, and into a power strip that looked like it was about to explode.
I’d just moved into my first “real” apartment. Fresh paint, new beginnings, adult life. And yet, every time I looked at that cable mess, it felt like a punch in the gut.
I Googled “how to hide cables” and found a thousand articles telling me to:
- Cut holes in my walls
- Install in-wall cable kits
- Drill into my baseboards
In my rental. With my security deposit on the line.
So I did what any stubborn renter would do: I spent the next three months testing every “renter-friendly” cable solution I could find. Some were genius. Some were garbage. And a few actually cost me a small chunk of my deposit when I got creative with the wrong adhesive.
Here’s what actually works.
Before You Touch Anything: The 10-Minute Cable Audit
Most people skip this step. Don’t be most people.
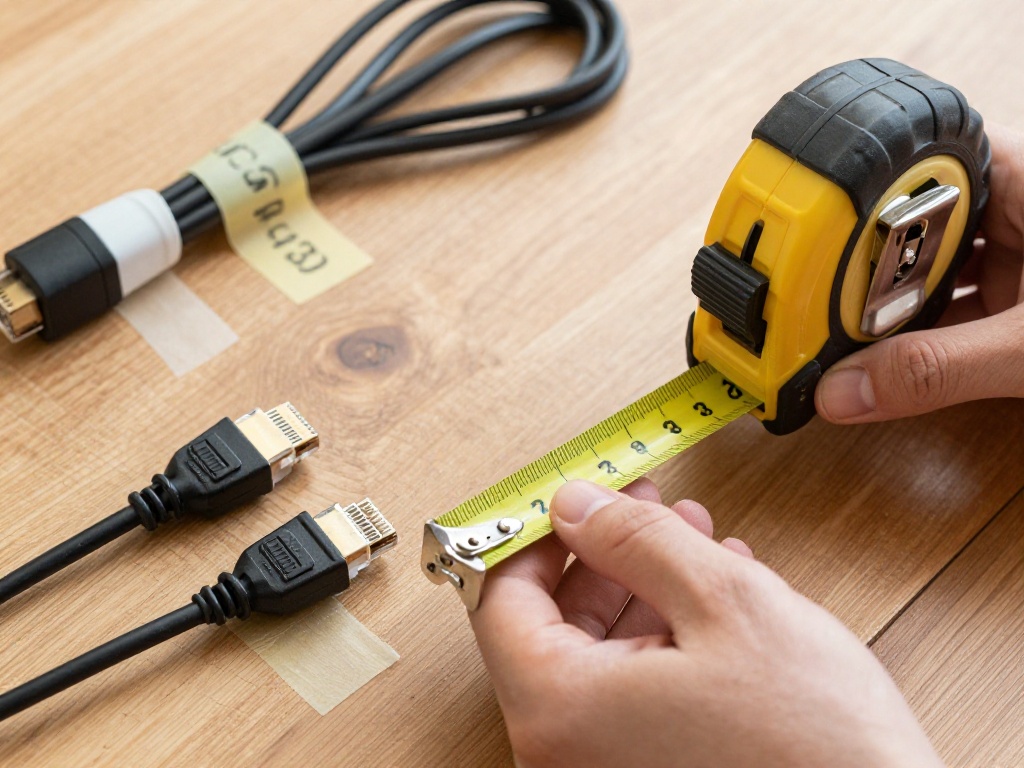
I learned this the hard way after buying $60 worth of cable organizers only to realize half my cords were too short to route the way I wanted.
Grab a notebook and answer these questions:
- Where do your cables START and END?
- TV to outlet? (vertical run)
- Router across the room? (horizontal run)
- Both? (you’re in the club now)
- What TYPE of cables are you dealing with?
- Low-voltage (HDMI, ethernet, speaker wire): These are your friends. You can hide them almost anywhere.
- Power cords: These need respect. They generate heat, can’t be pinched, and absolutely cannot become trip hazards.
- What’s your wall situation?
- Matte paint? (adhesives are risky)
- Eggshell or satin? (you’re safer)
- Textured walls? (some adhesives won’t stick well)
Pro tip: Take a photo of your mess before you start. You’ll thank yourself later when you need to put everything back the way it was.
The Renter’s Golden Rule: Test Everything First
I wish someone had told me this before I ripped paint off my first apartment wall.
Not all “removable” products are created equal.
What actually works:
- Command strips (the real ones, not knockoffs)
- 3M removable mounting tape (check the weight rating)
- Clear cord clips with pull-tabs
What’s sketchy:
- Random Amazon no-name adhesive clips
- “Removable” tape that doesn’t specify a removal method
- Anything that says “permanent hold”
The 48-hour test: Stick ONE product in an inconspicuous spot (behind furniture, inside a closet). Wait two days. Remove it. If the paint comes with it, you just saved yourself a security deposit disaster.
Method 1: The Paintable Raceway (With a Renter’s Twist)
What It Is
A plastic channel that sticks to your wall. You tuck cables inside, snap on the cover, and boom invisible cables.
The Problem
Most raceways require you to stick them directly to your paint. And when you remove them? Sometimes the paint comes too.
The Renter Hack: Painter’s Tape Buffer
Here’s what I do now:
- Apply painter’s tape to the wall where the raceway will go
- Stick the raceway to the tape, not the paint
- Run your cables inside
The trade-off: It won’t hold as much weight. So this works great for:
- Light cable bundles (2-3 cords)
- Short vertical runs
- Horizontal runs along baseboards
For heavier bundles? Skip the wall entirely and attach raceways to the back of furniture instead.
Making It Disappear
Buy white raceways and paint them to match your wall. Yes, really.
What I learned:
- Lightly sand the plastic first (just a quick scuff)
- Use the same sheen as your wall (matte, eggshell, satin)
- Test your paint match on a small section first
I painted mine to match my off-white walls, and from three feet away? You can’t see it.
Best for:
- TV cables dropping to an outlet
- Speaker wires running long distances
- That one ethernet cable that has to cross the entire room
Method 2: Fabric Cable Sleeves (The Aesthetic Choice)
Why I Love These
Plastic raceways are functional. Fabric sleeves are functional AND pretty.
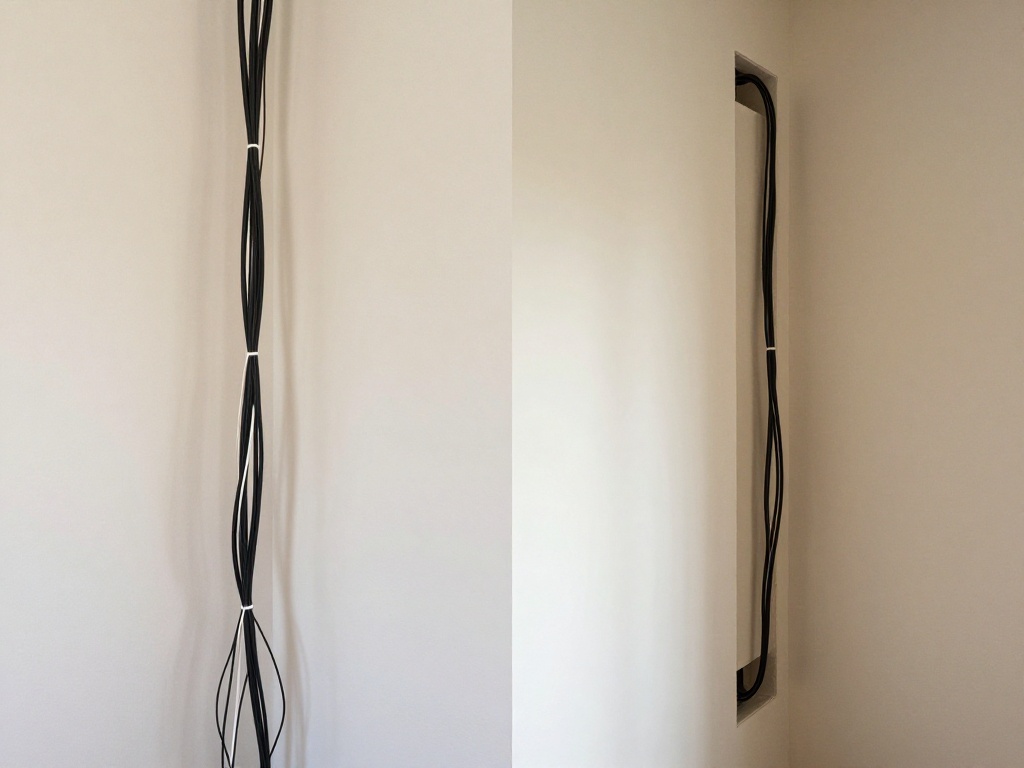
They’re soft, flexible tubes (usually with Velcro or zipper closures) that bundle multiple cables into one clean column. And because they’re fabric, they blend with your decor instead of screaming “OFFICE SUPPLY”
Where They Shine
Behind TV stands: You’ve got a console, a soundbar, a streaming device, a gaming console—all with their own cables. A fabric sleeve gathers them into one neat bundle that disappears behind the furniture.
Standing desks: If you have a desk that moves up and down, fabric sleeves flex with it. Plastic doesn’t.
Bedroom corners: That cluster of charger cables next to your nightstand? Fabric sleeve it and it suddenly looks intentional.
The Real Talk
Fabric sleeves don’t hide cables as completely as raceways. You’ll still see something. But it looks softer, less industrial, and way more “I meant to do that.”
I use charcoal gray sleeves in my living room because they match my couch. In my bedroom, I went with beige to blend with the walls. It’s a small detail, but it matters.
Method 3: Baseboard Routing (The Invisible Highway)
This Changed Everything for Me
Baseboards are a renter’s best friend. They’re already there, they’re designed to be walked past, and nobody looks at them closely.
The setup:
- Use clear removable cord clips (the kind with adhesive backs)
- Stick them along the top edge of your baseboard
- Run your cable through the clips
- Keep it tight to the edge
From a normal viewing distance? The cable basically disappears.
The Quarter-Round Option (Advanced)
Some renters use hollow quarter-round molding with adhesive backing. It sticks to the floor/wall edge and hides cables inside.
Looks amazing. But:
- Test the adhesive first (some damage flooring)
- Make sure your flooring can handle it
- Removal can be tricky
I used this in my last apartment for an ethernet run. It looked incredible, but I spent 45 minutes carefully removing it on move-out day. Worth it? Yes. Easy? No.
Safety First
Never run power cords where they can:
- Get pinched by doors
- Be crushed under furniture
- Become a trip hazard
If a cable has to cross a walking path, use a rubber floor cord cover (the low-profile “speed bump” kind). They’re not pretty, but they’re safe.
Method 4: Camouflage (The Lazy Genius Approach)
Sometimes the Best Solution Is… Not Solving It
Not every cable needs a high-tech solution. Sometimes you just need to make it invisible.
Behind-the-Leg Routing
Cables running down the back side of furniture legs are basically invisible. Use tiny clear clips to secure them, and most people will never notice.
I do this with:
- Desk lamp cords
- Phone chargers
- Speaker wires
Strategic Decor Placement
This is my favorite trick because it requires zero adhesive and zero commitment.
Tall plants next to outlet zones
Woven baskets that double as cable hiders
Floor lamps positioned to block sightlines
Leaning mirrors that cover problem areas
I have a fiddle leaf fig in my living room that looks decorative. It’s also hiding three cables and a power strip. Nobody knows.
Power Strip Safety
Don’t just shove your power strip in a drawer. That’s a fire hazard waiting to happen.
Use a ventilated cable management box instead. They have slots for cables to exit, keep everything contained, and most importantly they breathe.
Never seal a power strip in an airtight container. Heat buildup is real, and it’s dangerous.
Method 5: Flat Cables + Smart Routing
The Upgrade Nobody Talks About
Round cables are stubborn. They want to roll, twist, and stick out. Flat cables hug surfaces and disappear into tight spaces.
I replaced:
- My HDMI cable (flat version: $15)
- My ethernet cable (flat version: $12)
- My speaker wire (flat version: $20)
Total cost: $47
Time saved in frustration: Priceless
Where Flat Cables Win
- Along baseboard seams (they tuck in tighter)
- Behind furniture (less bulk)
- Under rugs (with proper protection more on this below)
The Under-Rug Reality Check
Yes, you can run cables under rugs. But there are rules.
For low-voltage cables (HDMI, ethernet):
- Use an under-rug cord protector (plastic channel that keeps the cable flat)
- Keep it away from high-traffic areas
- Check it periodically for wear
For power cords:
- Don’t. Just don’t.
- Heat buildup + foot traffic = potential fire hazard
- Route power along walls instead
If a cable MUST cross a walkway, use a rubber floor cord cover. They’re not glamorous, but they’re safe and removable.
The 30-Minute TV Cable Makeover (Step-by-Step)
I’ve done this setup a dozen times now. Here’s my exact process:
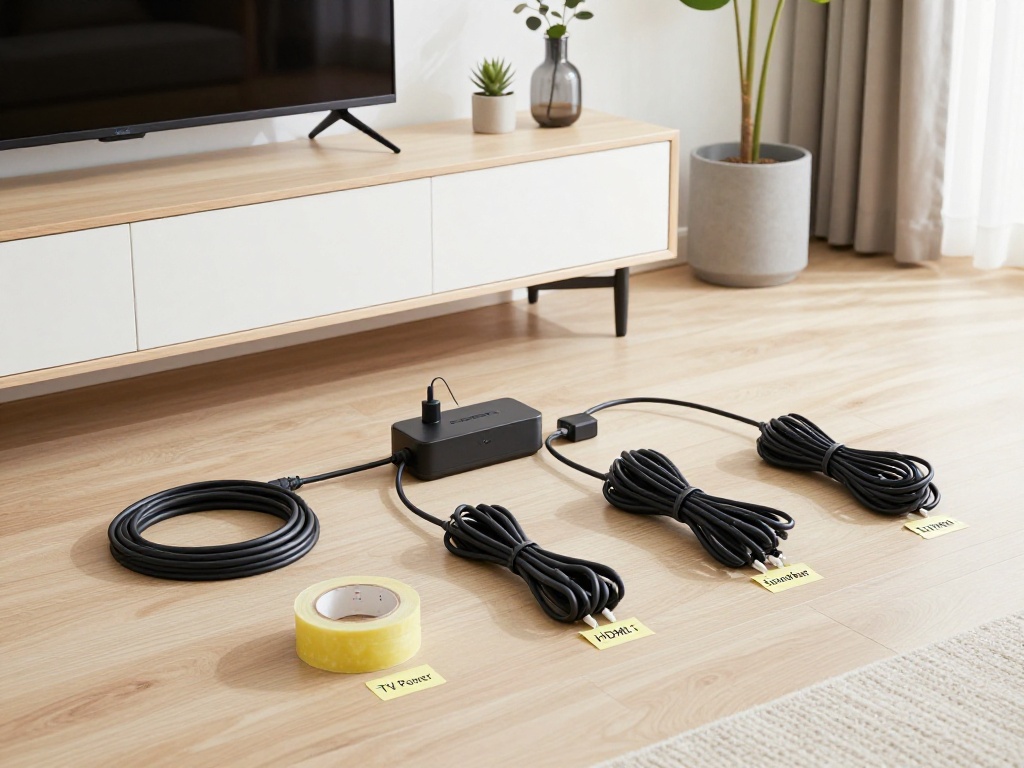
Step 1: Unplug Everything (5 minutes)
Yes, everything. TV, console, soundbar, streaming devices.
Why? You need to see what you’re working with. Plus, it’s easier to bundle cables when they’re not plugged in.
Pro move: Use small pieces of painter’s tape to label each cable before you unplug it. “TV power,” “HDMI 1,” “Soundbar,” etc. Future you will cry tears of joy.
Step 2: Bundle by Destination (5 minutes)
Group cables that go to the same place:
- All TV cables together
- All console cables together
- All soundbar cables together
Use reusable Velcro ties (not plastic zip ties). You’ll thank me when you need to swap something out.
Step 3: Choose Your Route (5 minutes)
Option A: Straight wall drop
- Install a raceway (with painter’s tape buffer if you’re cautious)
- Best for: Clean, visible walls
Option B: Behind-furniture routing
- Use clear clips on the back of your media console
- Best for: Avoiding wall adhesive entirely
Option C: Hybrid
- Raceway for the vertical drop
- Clips behind furniture for horizontal runs
- Best for: Complex setups
Step 4: Install and Secure (10 minutes)
- Lay cables flat inside raceways (don’t cram them)
- Snap covers closed
- Use clips to secure any exposed sections
- Coil excess slack neatly behind the console
Don’t: Leave cables dangling or create tension points. Cables should be relaxed, not stretched.
Step 5: Hide the Junction (5 minutes)
The outlet area is where most cable management fails. You’ve hidden everything, and then bam ugly power strip and cable cluster.
Solutions:
- Slide your media console to block the view
- Place a decorative basket in front of the outlet
- Use a tall plant as a natural screen
- Get a cable management box that looks intentional
The Renter’s Cable Toolkit (What’s Actually Worth Buying)
After three apartments and approximately $300 in cable management products, here’s what I actually keep in my toolkit:
Must-Haves
1. Command-style clear cord clips (~$10)
- Get the ones with pull-tabs
- Buy a variety pack (different sizes)
- These are your bread and butter
2. Paintable cable raceway (~$20-30)
- Get straight pieces + corner pieces
- Buy white and paint to match your walls
- Worth the extra cost for clean removal options
3. Reusable Velcro ties (~$8)
- Get a roll you can cut to size
- Way better than plastic zip ties
- You’ll use these forever
4. Fabric cable sleeve (~$15)
- Get one in a color that matches your decor
- Perfect for behind-TV bundles
- Looks better than plastic
5. Ventilated cable management box (~$25)
- Non-negotiable for power strips
- Keeps things safe and tidy
- Look for ones with multiple cable slots
Nice-to-Haves
- Painter’s tape (for testing and buffer method)
- Flat HDMI/ethernet cables (for tight spaces)
- Label tags (for identifying cables)
- Microfiber cloth (for cleaning before adhesive application)
Skip These
- Cheap no-name adhesive clips (they fail)
- Permanent mounting tape (you’re a renter!)
- Overly complicated cable management systems (you don’t need them)
Budget reality check: You can do a full cable makeover for $80-100 if you buy smart. Don’t cheap out on adhesives, but you don’t need the premium brand of everything either.
Move-Out Day: Removing Everything Without Disaster
This is where most renters panic. Don’t be most renters.
The Adhesive Removal Protocol
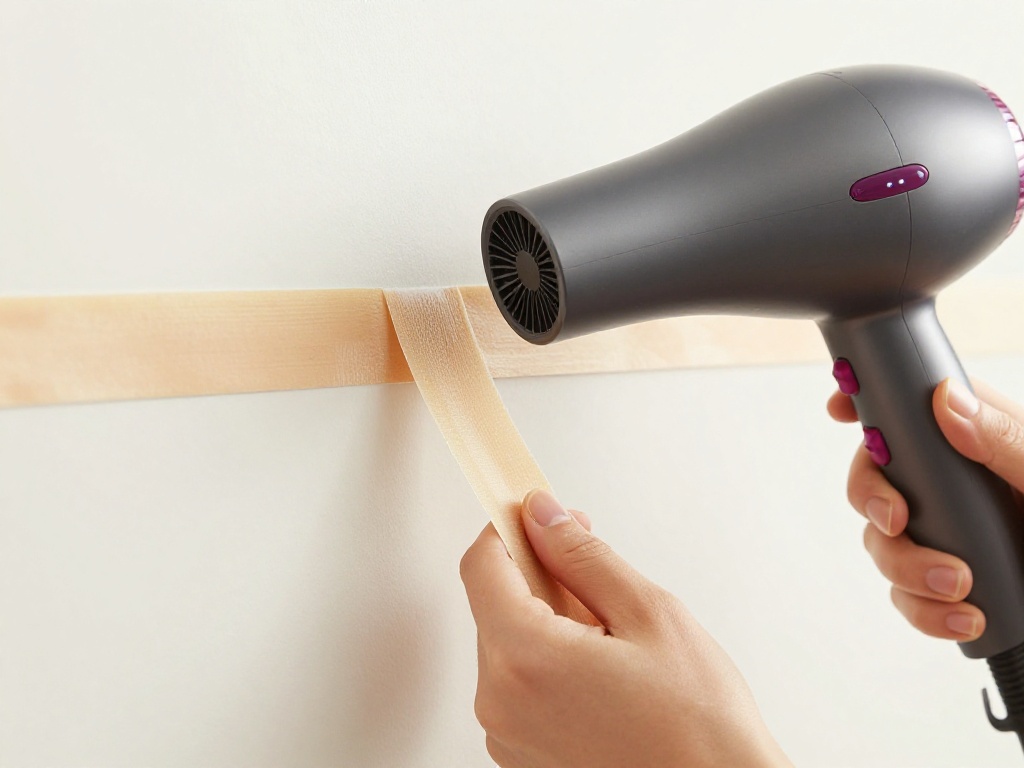
Step 1: Warm it up
Use a hairdryer on LOW heat. Keep it moving don’t scorch your wall. Warm adhesive releases easier.
Step 2: Pull parallel, not outward
This is critical. Pull the strip parallel to the wall, stretching it downward. Don’t yank it straight out.
If you’re using Command strips, follow their pull-tab method exactly. They’ve engineered it for a reason.
Step 3: Go slow
I know you’re stressed about move-out. But rushing = paint damage. Take your time.
Dealing with Residue
Sometimes you get sticky leftovers. Here’s the escalation path:
- Warm soapy water (gentlest option, try this first)
- Isopropyl alcohol on a microfiber cloth (stronger, but safe for most paint)
- Goo Gone (nuclear option spot test first, especially on matte paint)
Never use:
- Metal scrapers (they gouge paint)
- Acetone or nail polish remover (too harsh)
- Excessive force (just… don’t)
The Final Walkthrough
After you remove everything, wipe the wall down and inspect in good lighting. If you see marks:
- Small adhesive residue? Clean it
- Tiny paint chip? Touch-up paint if you have it (or negotiate with your landlord)
- Actual damage? Document it and be honest with your landlord
Pro tip: Take photos of your walls after removal. If there’s a dispute about damage later, you have proof.
The Truth About “Perfect” Cable Management
Here’s what nobody tells you: Your cables don’t need to be invisible.
They need to be tidy, safe, and intentional-looking.
I’ve seen magazine spreads with zero visible cables. Those people either:
- Own their homes and drilled into walls
- Have professional installers
- Are lying to you
In a rental, your goal is 80% invisible, 100% removable. That’s it.
Some cables will peek out. Some corners won’t be perfect. And that’s okay.
What matters:
- No trip hazards
- No heat buildup
- No damage to your deposit
- A setup you can actually live with
Your Next Step
Look around your apartment right now. What’s the worst cable eyesore?
- The TV wall disaster?
- The desk cable spaghetti?
- The nightstand charging station?
Pick ONE. Just one.
Spend 30 minutes this weekend fixing it using the methods above. Not all of them. Just one room, one setup.
When you’re done, sit back and look at it. That feeling of calm when you don’t see chaos anymore? That’s worth more than any security deposit.
Then do the next room.